
(Deploying ASP.Net Core Web App to Azure Web App)
In this blog, I’ll discuss how we can implement CI/CD to publish an ASP.Net Core App to Azure Web App using Azure Pipelines. This contents assumes that you are familiar with working of Azure Web App, GIT and use of Visual Studio 2019.
Overview
CI/CD stands for Continuous Integration/Continuous Delivery. CI/CD helps us fully automate the process of developing (building and testing) and deploying an app to the target environment.
Pre-requisites
| Azure Web App | Azure DevOps | Visual Studio |
|---|---|---|
| This is where we will host our ASP.Net web application. | This is where we will configure our Azure Pipelines and code repository. | We will use Visual Studio 2019 to make changes in the code and push the code to the Azure Repos. |
Azure Repos
This is our Git repository where we will store our code.
Continuous Integration
Under Continuous Integration, the develop phase – building and testing code – is fully automated. We achieve it with the help of Azure Build Pipelines. It means that instead of compiling the code in localhost, as we used to do, we will now use Azure Build Pipelines to create an environment where our code will be built and tested automatically.
So, what will trigger this CI process?
It happens when we push our code to the master branch in Azure Repos. After successful building and testing of the code, it is packaged and produced as a compressed file, also called as a build artifact.
In our example, the ASP.NET Core app will be built and a build artifact for our app is generated.
Continuous Delivery
Under Continuous Delivery, the delivery phase is automated. CI is achieved through Azure Release Pipelines. It means that the whenever a build artifact is available, it will be deployed to the target environment.
In our example, the build artifact of our ASP.NET Core app will be picked up by the Azure Release Pipeline and deploy it to our target environment which is our Azure Web App.
Until here, CI and CD are not interconnected yet, meaning that CD needs to be triggered manually by running the Release Pipeline once a build artifact is produced by the Build Pipeline.
So how will we make sure that CD is triggered automatically as soon as there is a build artifact generated by the Build Pipeline?
The answer is Continuos Deployment.
Continuous Deployment
As mentioned above, with the help of Continuous Deployment, the process of manually trigerring the Release Pipeline to deploy the app is automated. It means that once a code is pushed to master branch, it is built, tested and deploy to the target environment automatically.
Sample Demo
This is our target web app URL: https://demoaspnetapp.azurewebsites.net
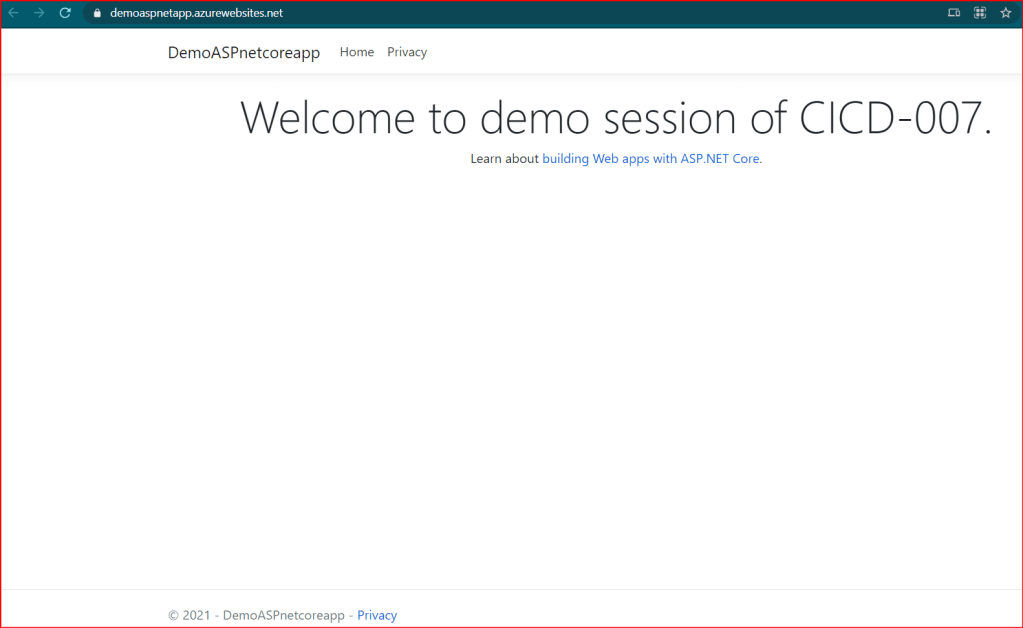
I have already published the app. In this demo, we will make some changes in our existing ASP.NET Core Web App and see how the changes are updated in real time in our Azure Web App.
Before that let’s configure our Azure Build Pipelines.
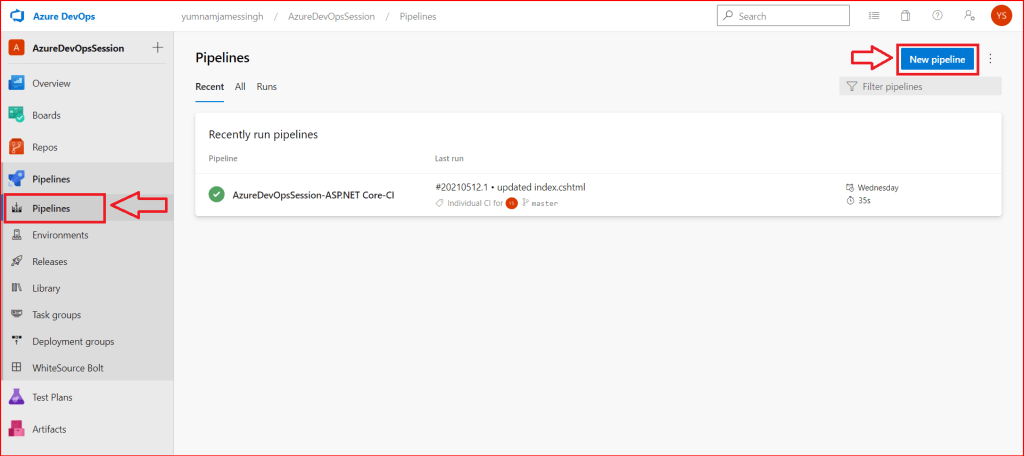
Under Pipelines, Click on Pipelines and then New Pipeline.
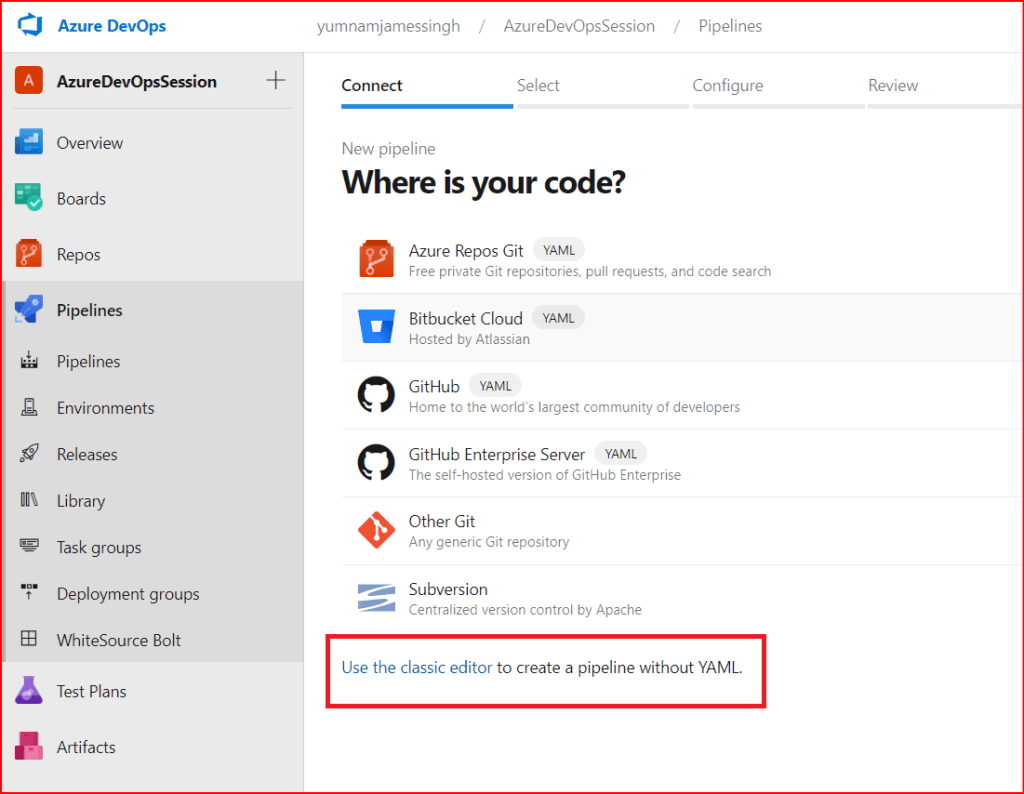
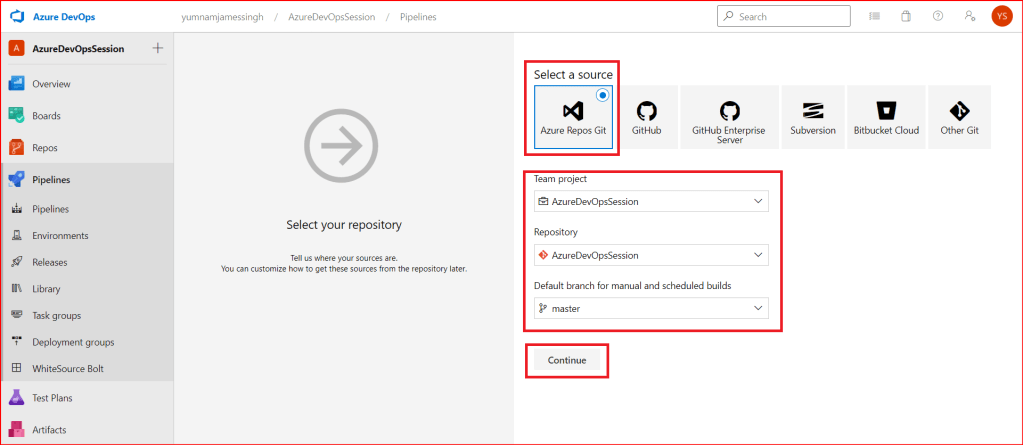
Click on Use the Classic Editor and follow the steps as shown in the screenshots below. Keep all highlighted options the same as follows.
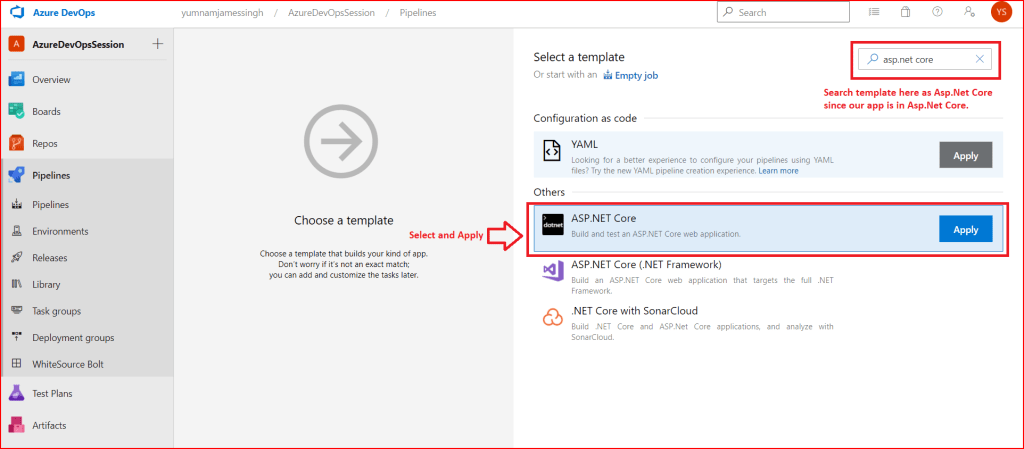
We need to select the right template for our app to be successfully built. So, use the Search box to search for the right template for your app. in our case, we are working on ASP.NET core app, so we will use ASP.Net Core template.
You may change the Name of the pipeline or keep it as it is. Now click on Triggers.

Check the box labelled Enable continuous integration and keep the other options as it is. This will trigger the Build Pipeline whenever code is committed in the specified branch.

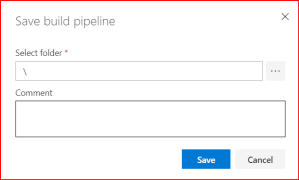
Select Save from the drop down.
Now go back to Pipelines, click on All and you will find the new Build Pipeline.

Now let’s configure Release Pipeline.
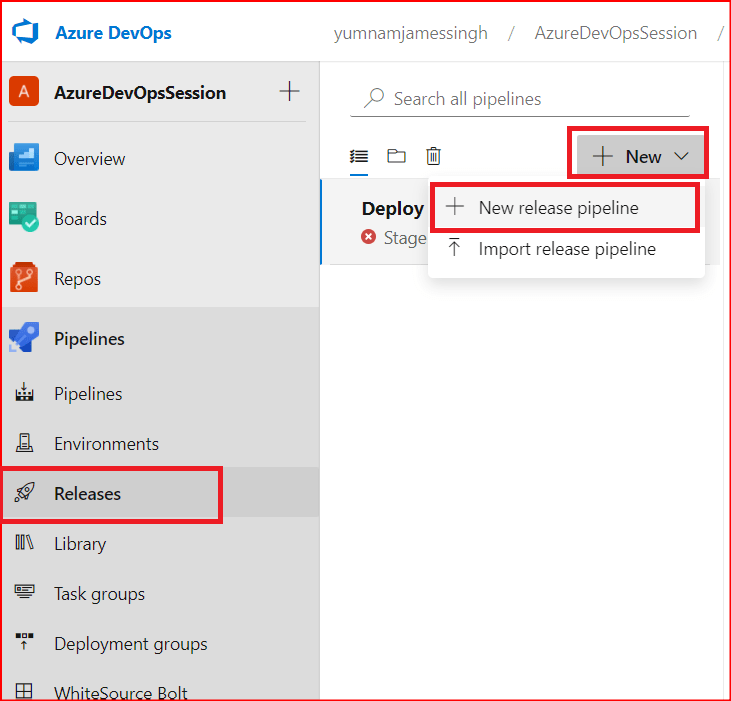
Click on Releases and then New and then New Release pipeline.
Search and select Azure App Service Deployment as the required template for the target environment and Apply, because we are going to deploy our app to Azure Web App.

Keep the stage name as it is or change it to Dev, Test, Prod or any meaningful name to represent your target environment.
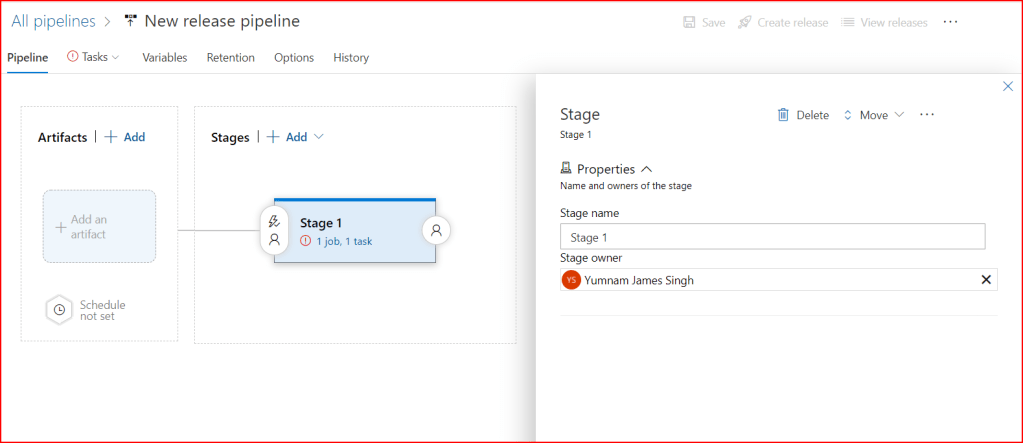
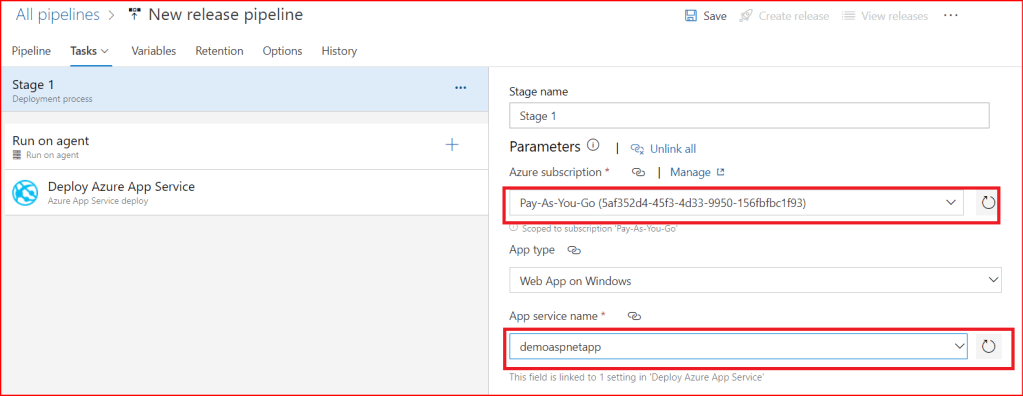
In stage 1, click on the highlighted option as shown below:
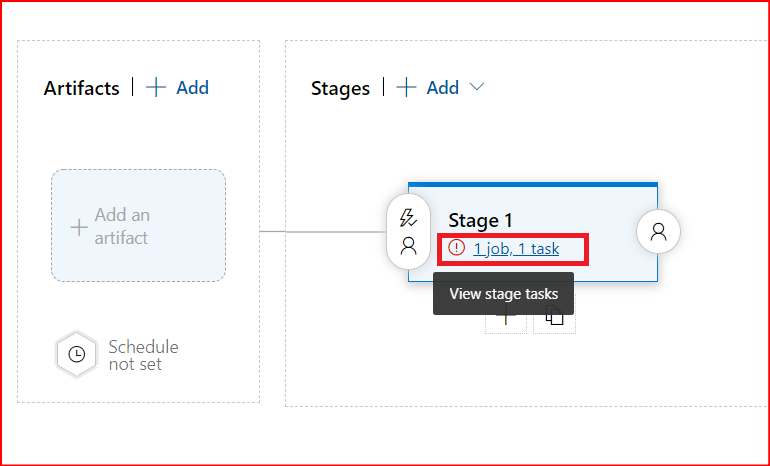
And select your Azure Subscription where you have your Azure web app and select the correct web app as shown below. You will need to Authorize, if asked.
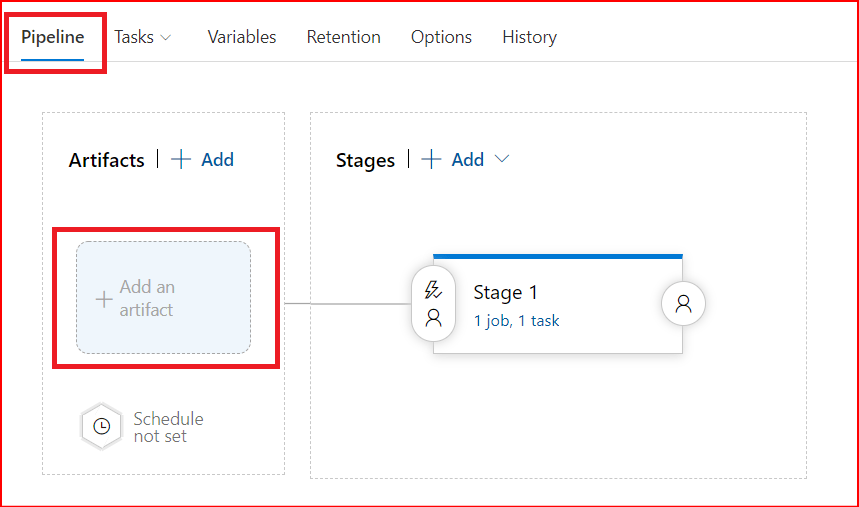
Now Click on Pipeline and Add an Artifact.
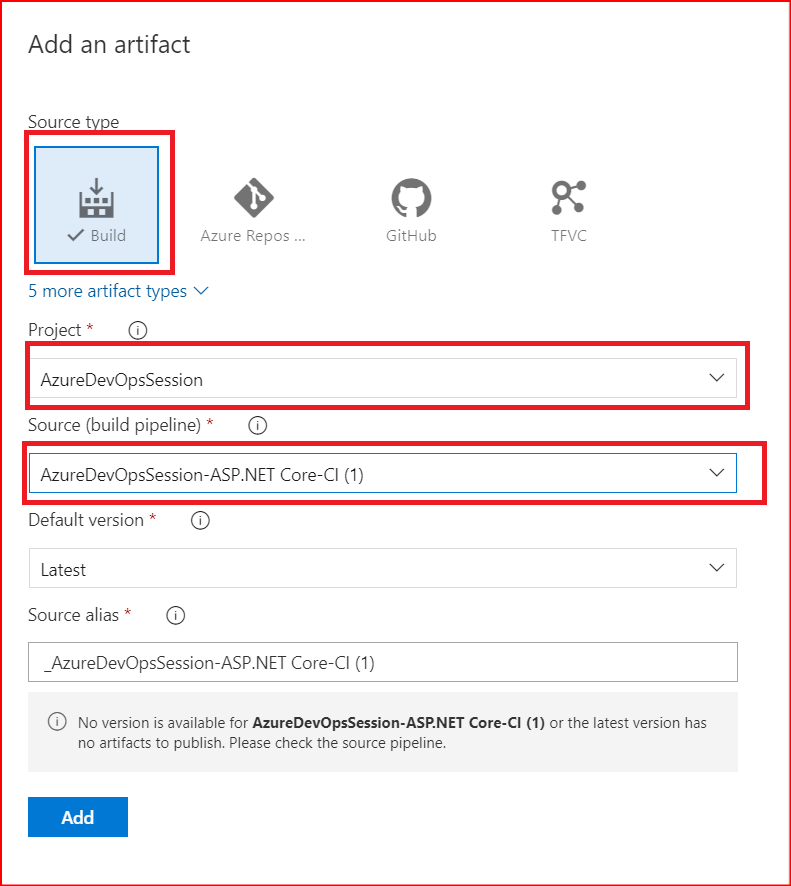
Make sure you have selected the correct Azure Build Pipeline name from where it should fetch the artifact as shown below. We are going to use the Build Pipeline we have created above. Click on Add.
You will now see the below screenshot. Click on the Continuous deployment trigger.
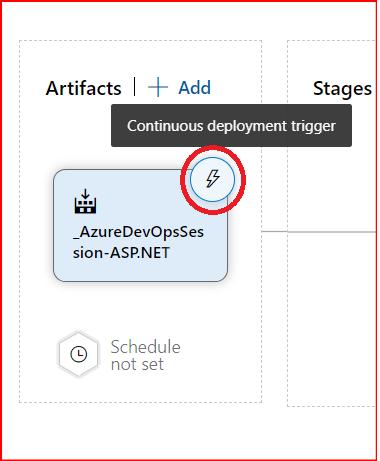
Enable the Continuos deployment trigger using the toggle bar as shown below.
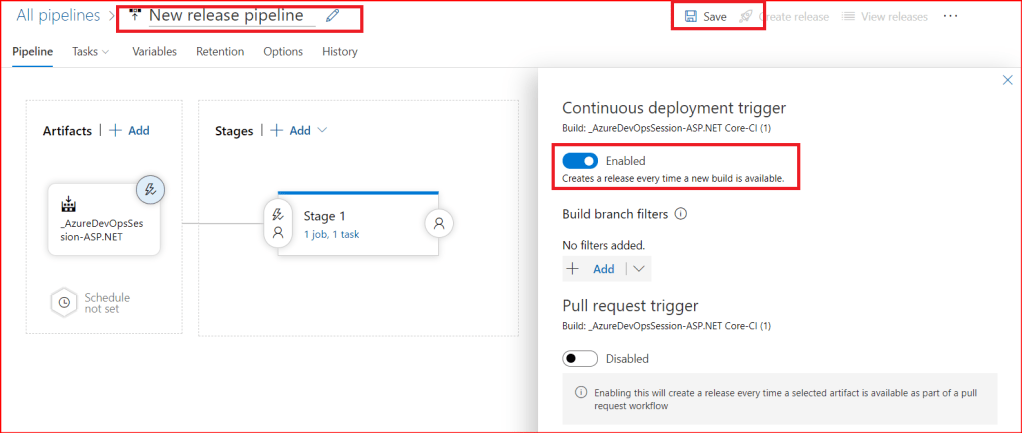
Change the name of the Release Pipeline to CD-AzWebApp and Save. Click on Ok in the confirm dialog box.
Now our CI/CD pipelines are ready and the only thing left is to push our updated code to the Azure Repos. Our code is already placed in Azure Repos. So, we will clone it and open it with Visual Studio. (I’ll be explain how to configure and publish code to Azure Repos for the first time in the next blog.)


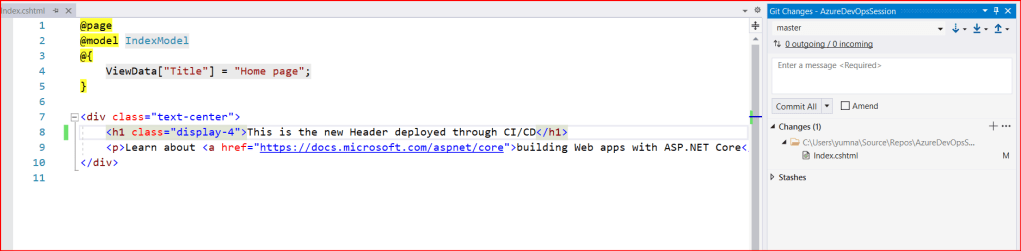
We will work on the master branch itself for this demo. We will make a small change in the Header Text of index.cshtml as “This is the new Header deployed through CI/CD”. When we do it, we can see the changes displayed under Git Changes explorer view.
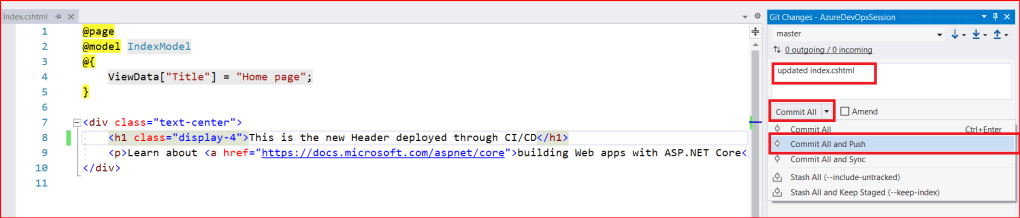
Add a commit message and push the code.
Once Push is successful, go to Pipelines and you will see that the Build Pipeline is running. Click on the name of the pipeline to see its run history.
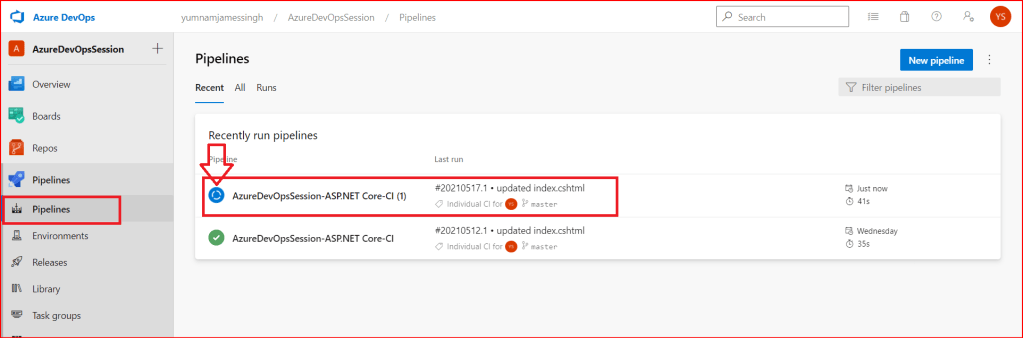
Click on the latest run as shown below.

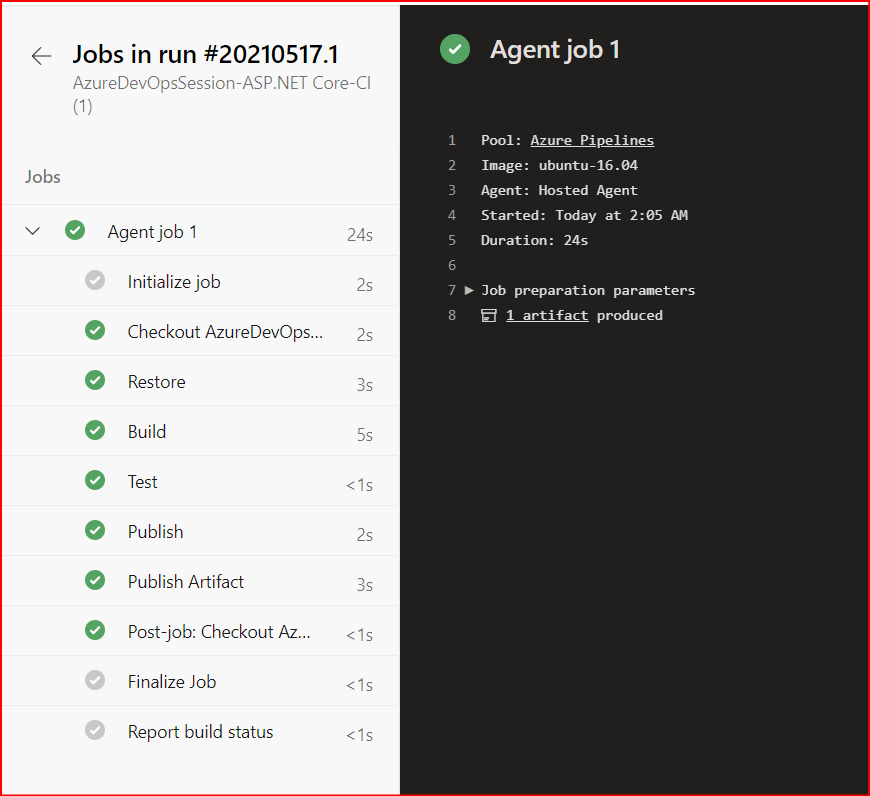
Click on Agent Job 1 under Jobs.

Now you can see in the below screenshot what happened during the Build in each step. Also you can see 1 Artifact Produced. This is the build artifact which release pipeline will consume.
Our build has succeeded, so lets go and check our Release Pipelines.
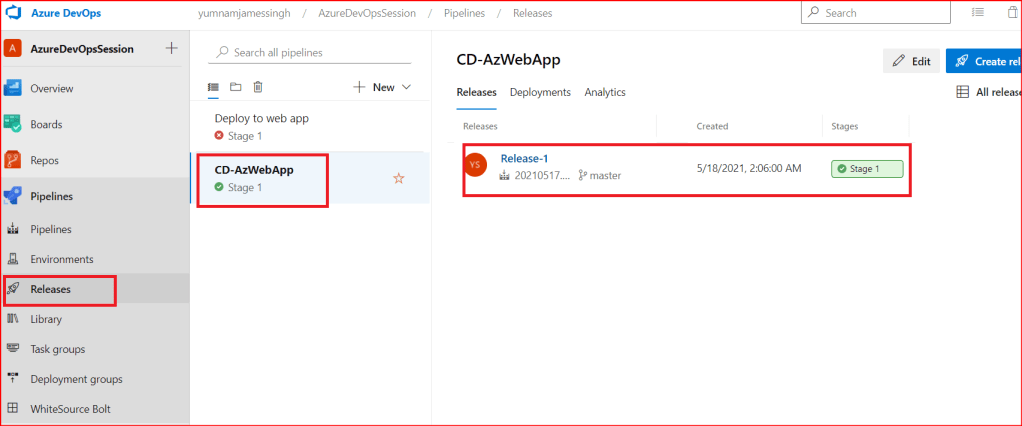
As you can see in the screenshot above, for our new Release Pipeine CD-AzWebApp, new release Release-1 having stage Stage 1 has successfully completed as shown in green color.
You can click on Release-1 to see the progress as you did for Build Pipelines.

Now that our CI/CD pipelines have successfully completed, our web app should have got updated.
Lets refresh the URL for our web app: https://demoaspnetapp.azurewebsites.net
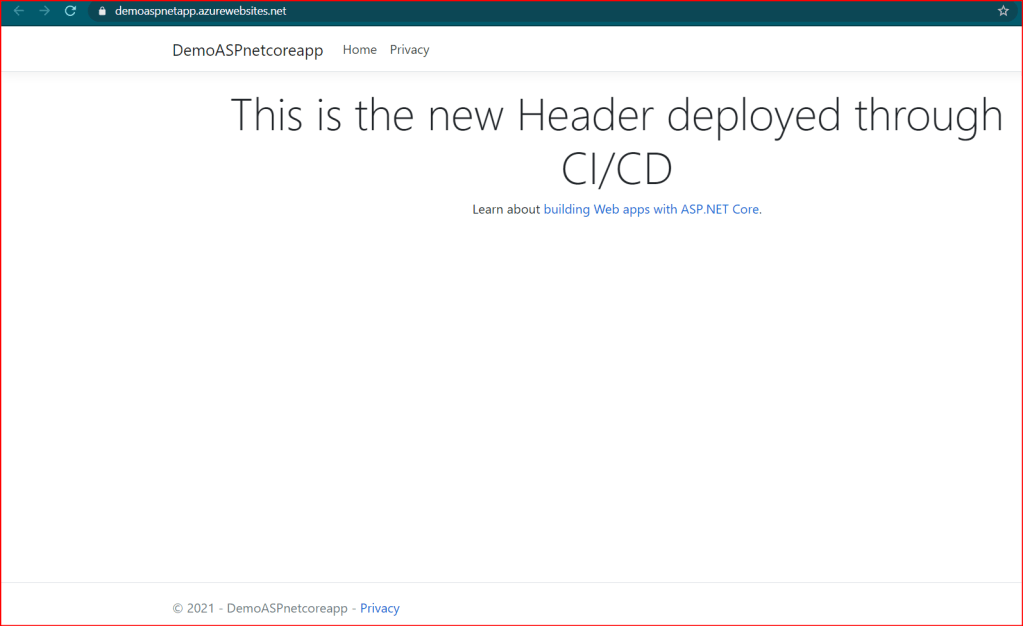
As you can see, the app has got updated in real time.
This is all for this blog. See you in the next one.

Leave a comment